


In this guide, we will show you the entire process of registering on the BingX exchange.
Step 1: Creating an Account
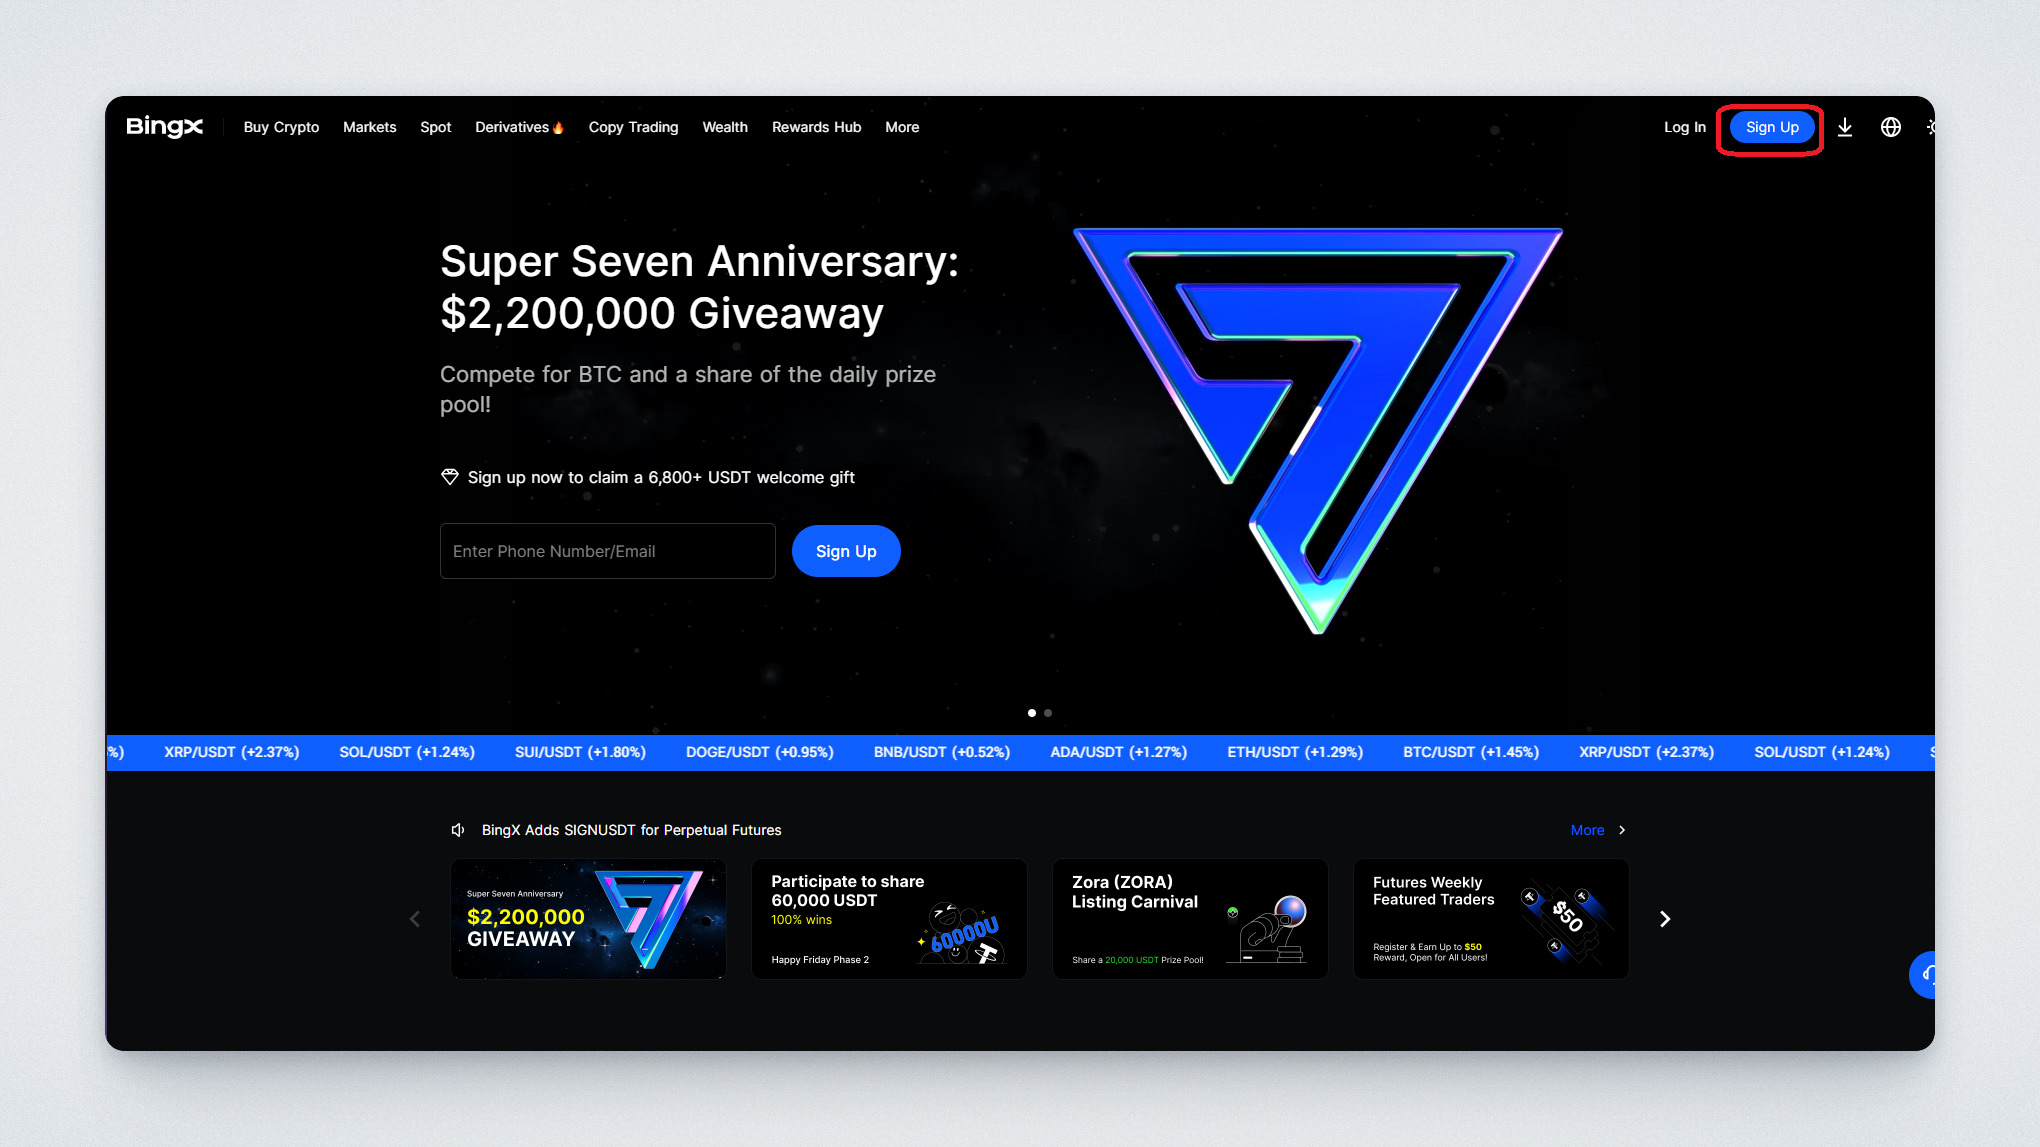
Go to the https://bingx.com/ website
Click “Sign Up” in the upper-right corner:
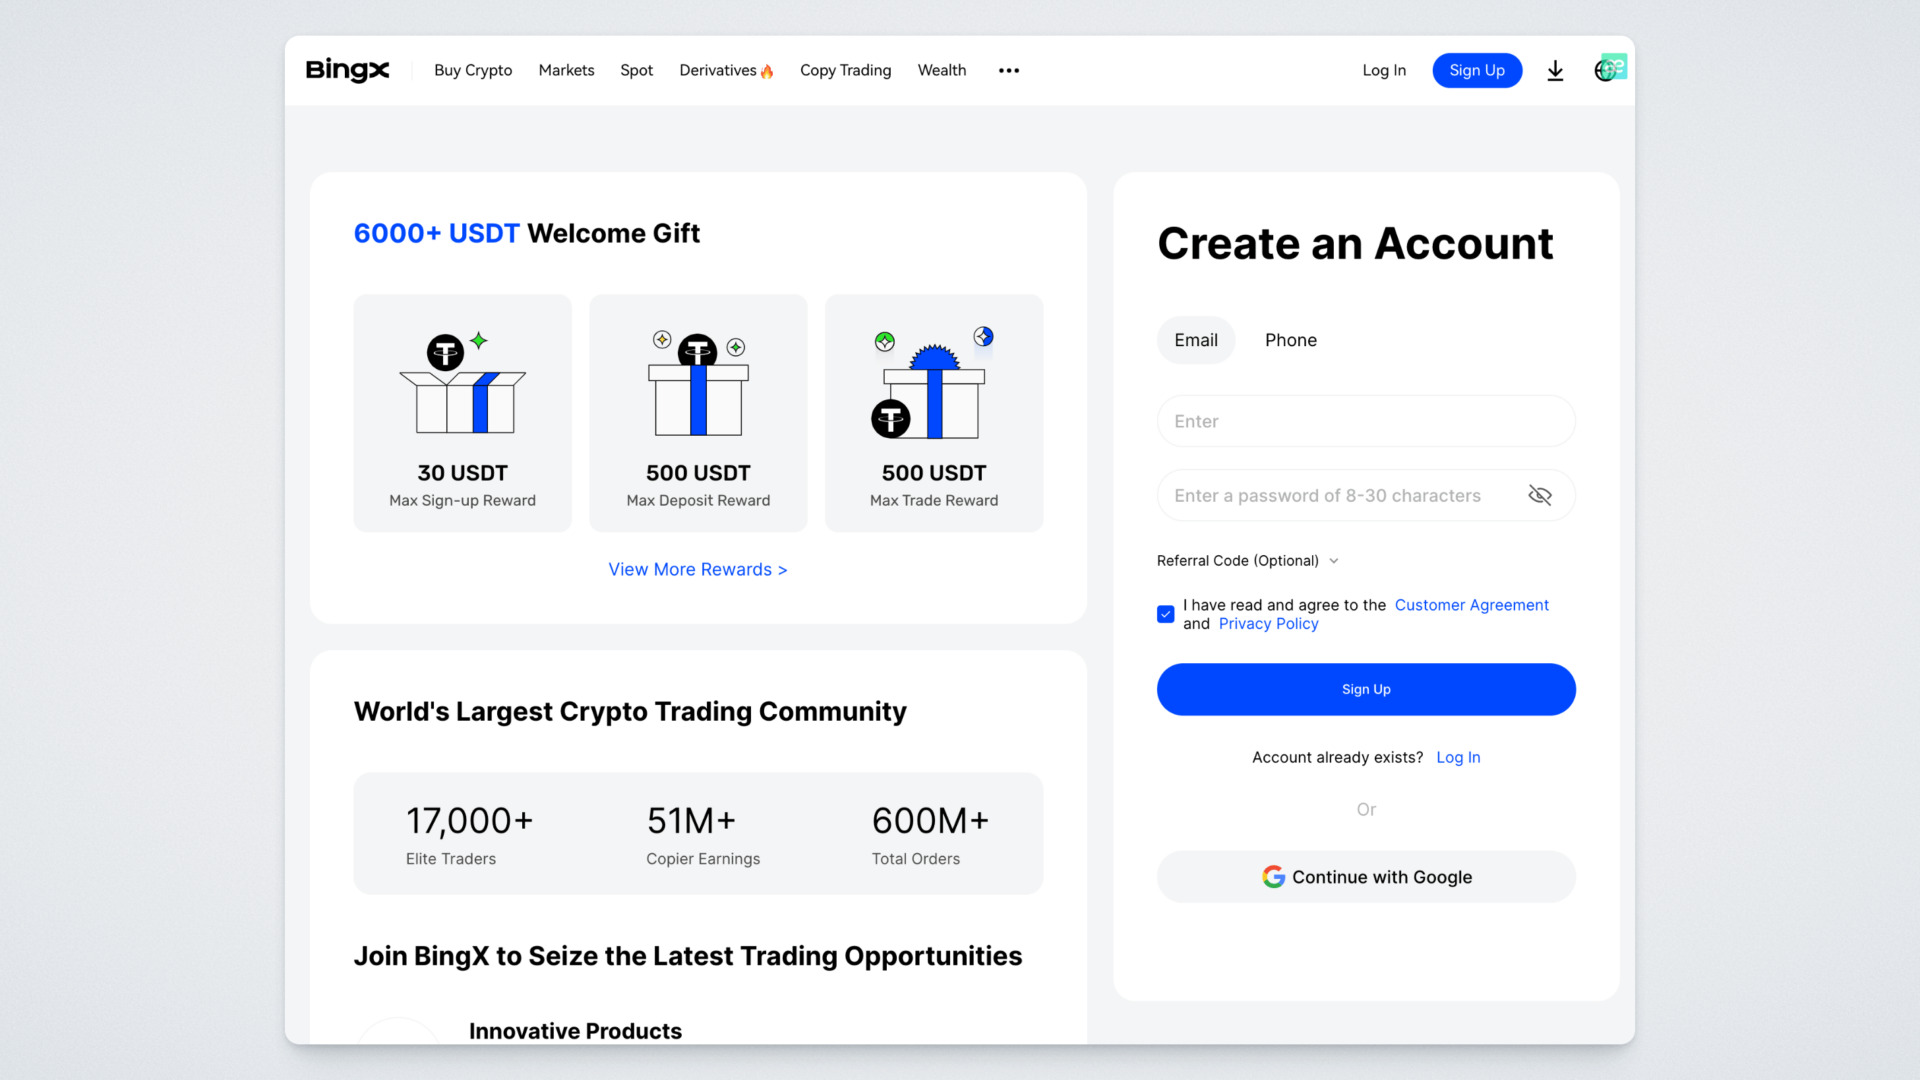
Enter your email address (or mobile phone number, depending on your preference) and create a password (ideally at least 8 characters). Click the “Sign Up” button.
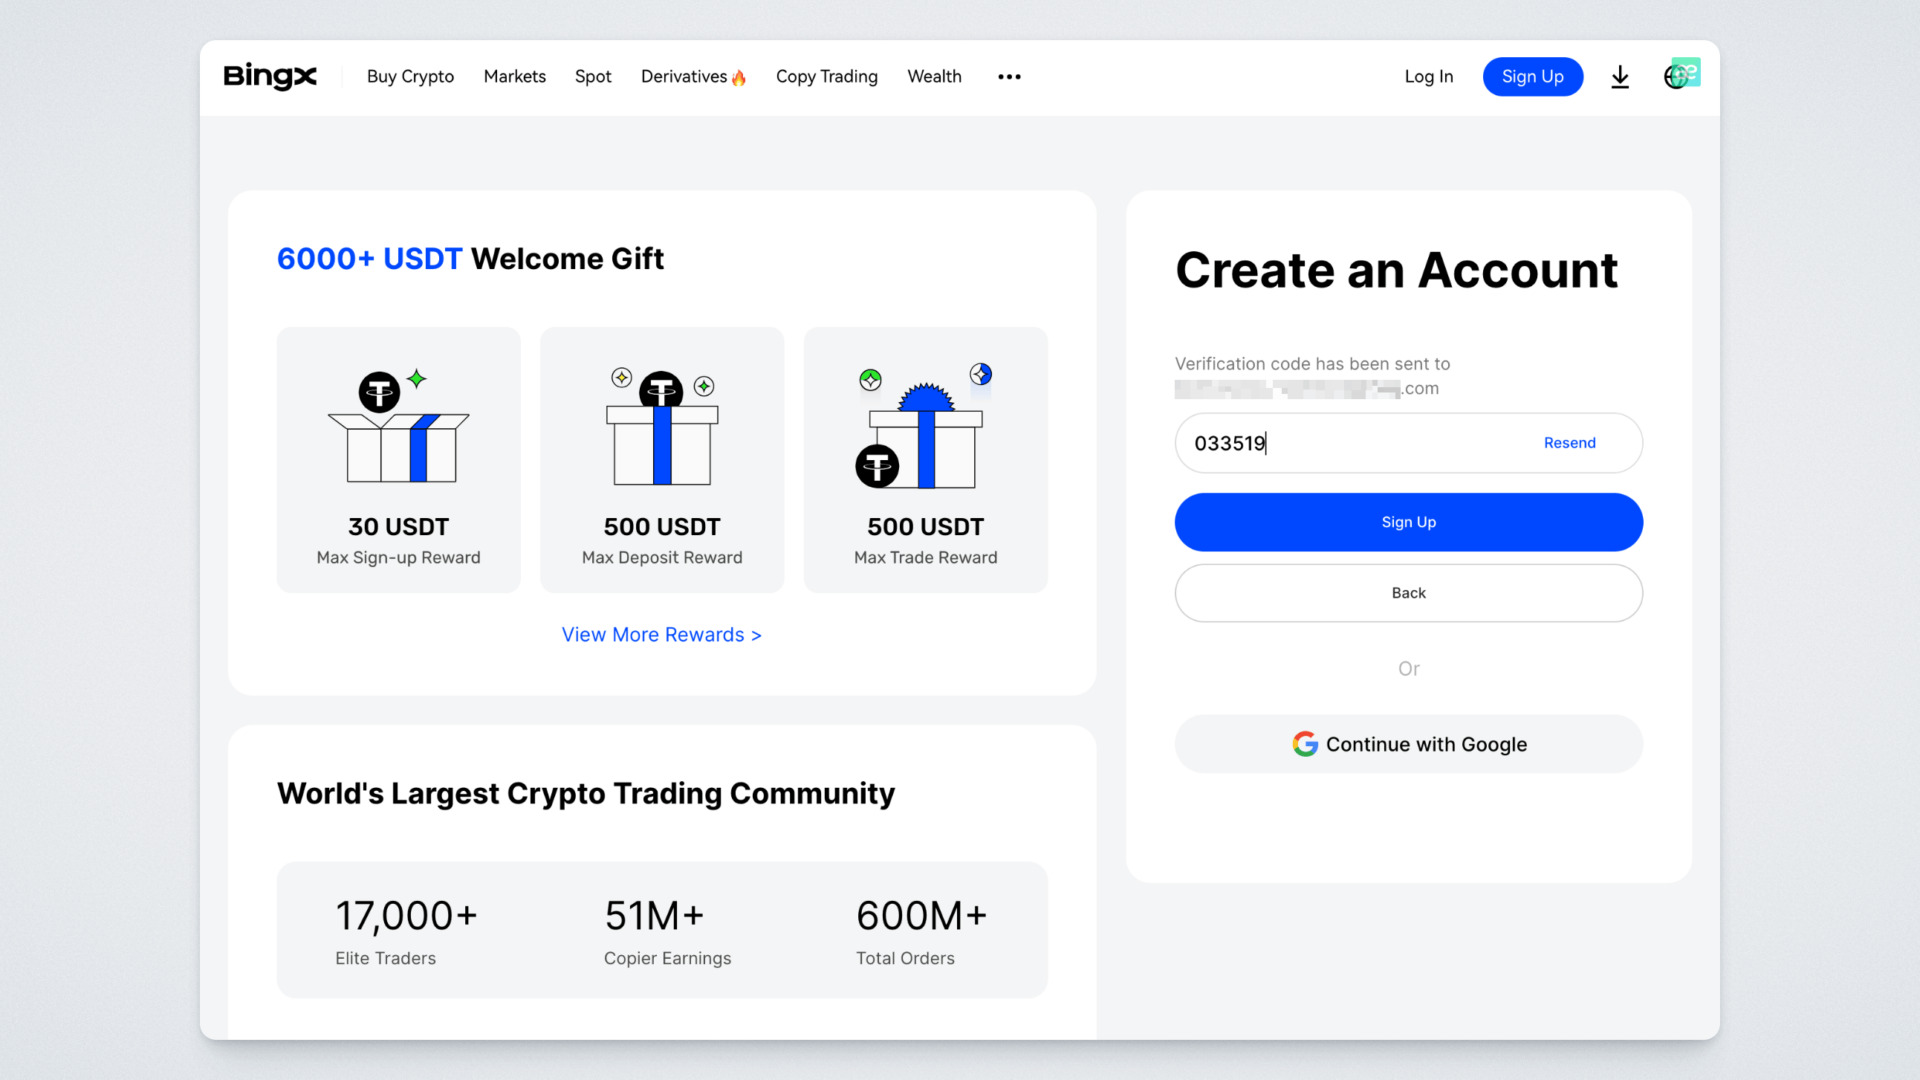
A confirmation code will be sent to your email. Enter it on the next screen and click “Sign Up”:
Step 2: Verification
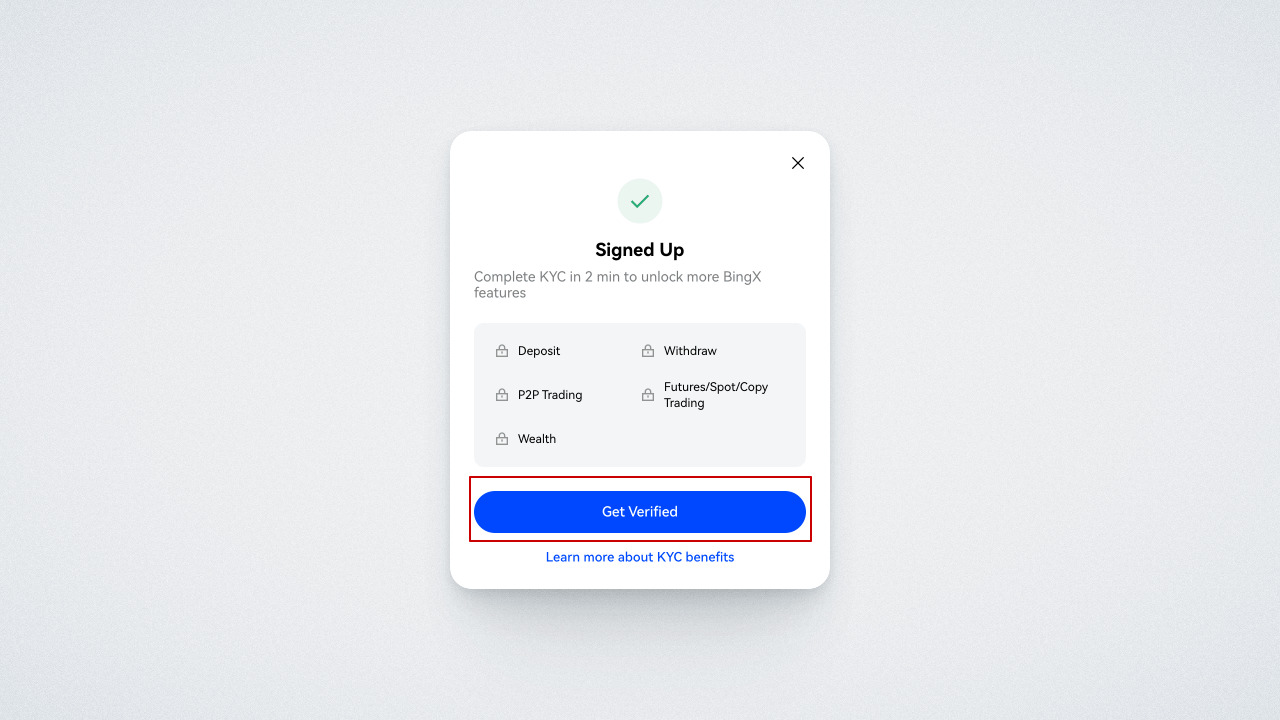
Next, the exchange will prompt you to complete identity verification. Click the “Get Verified” button:
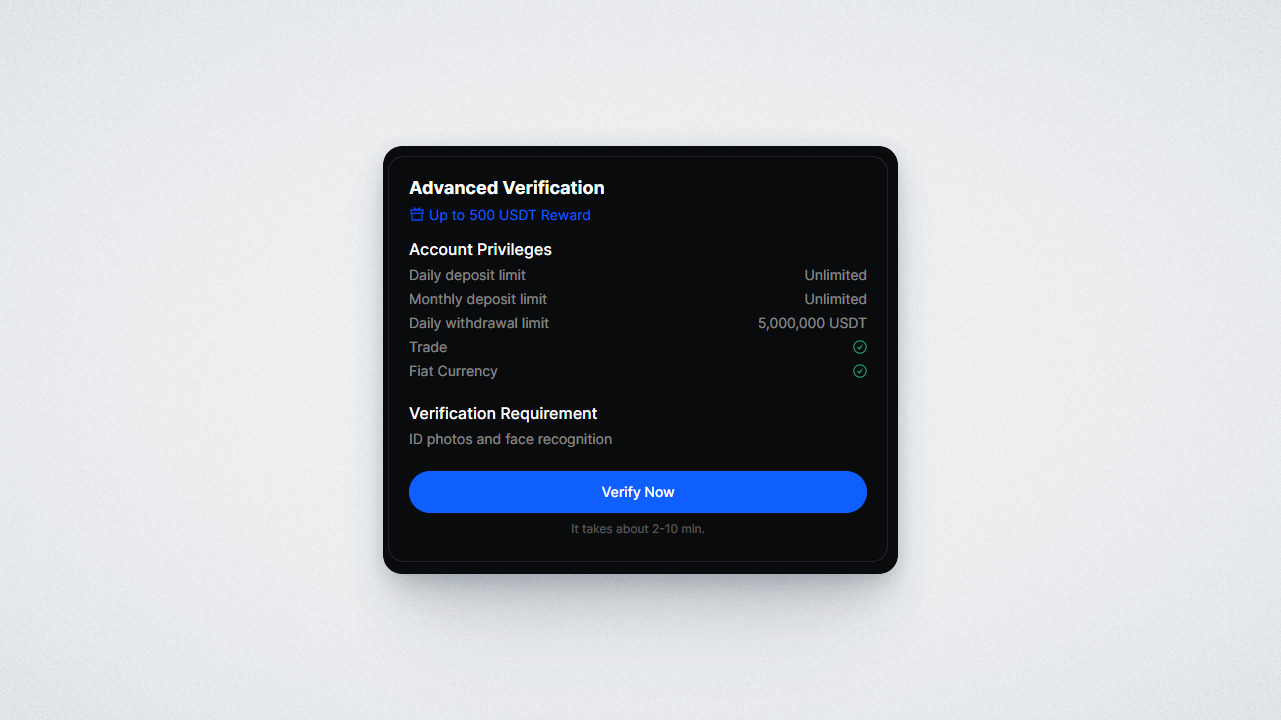
To work with the trading bot, advanced verification is required — select this option by clicking the “Verify Now” button:
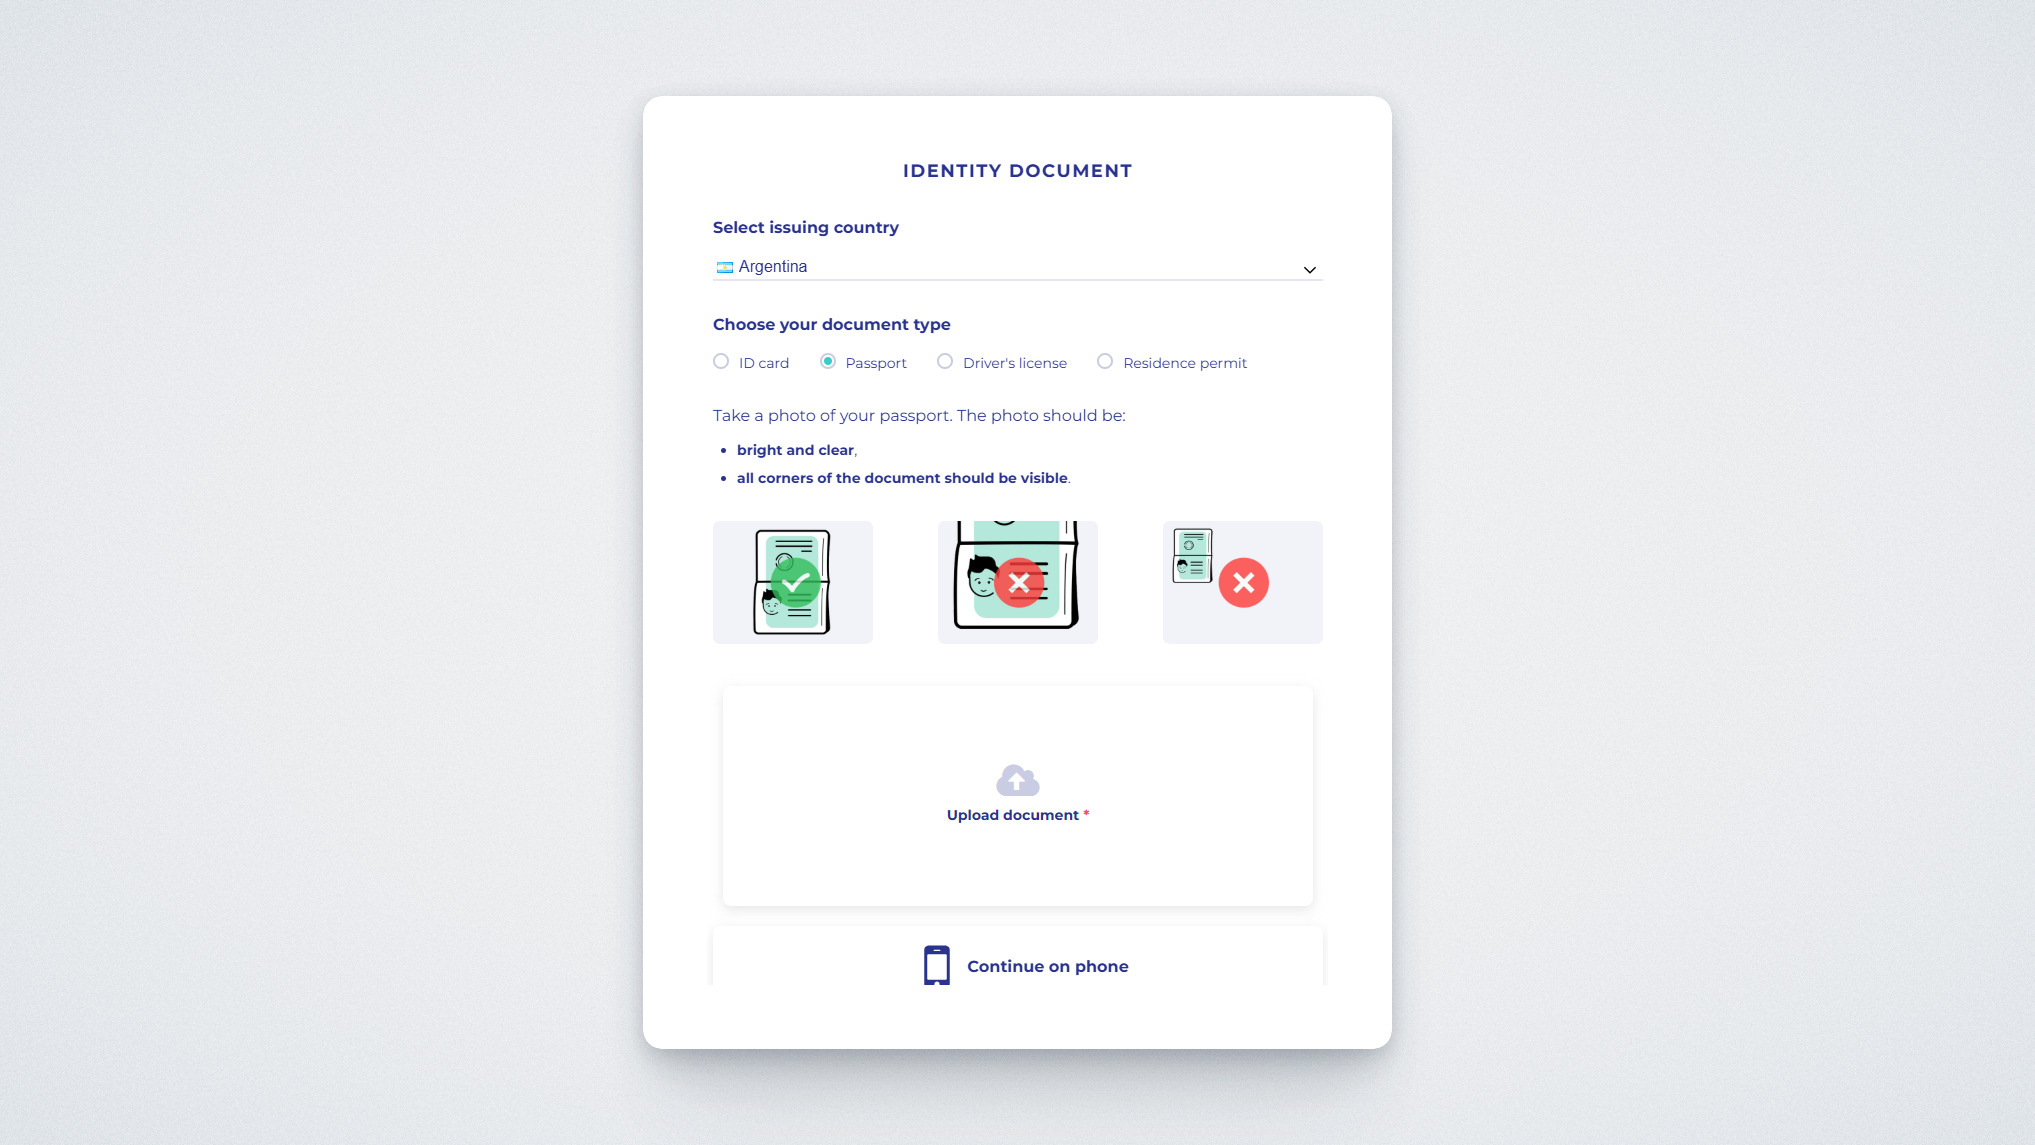
You’ll be asked to select your country of residence and upload a photo ID to verify your identity.
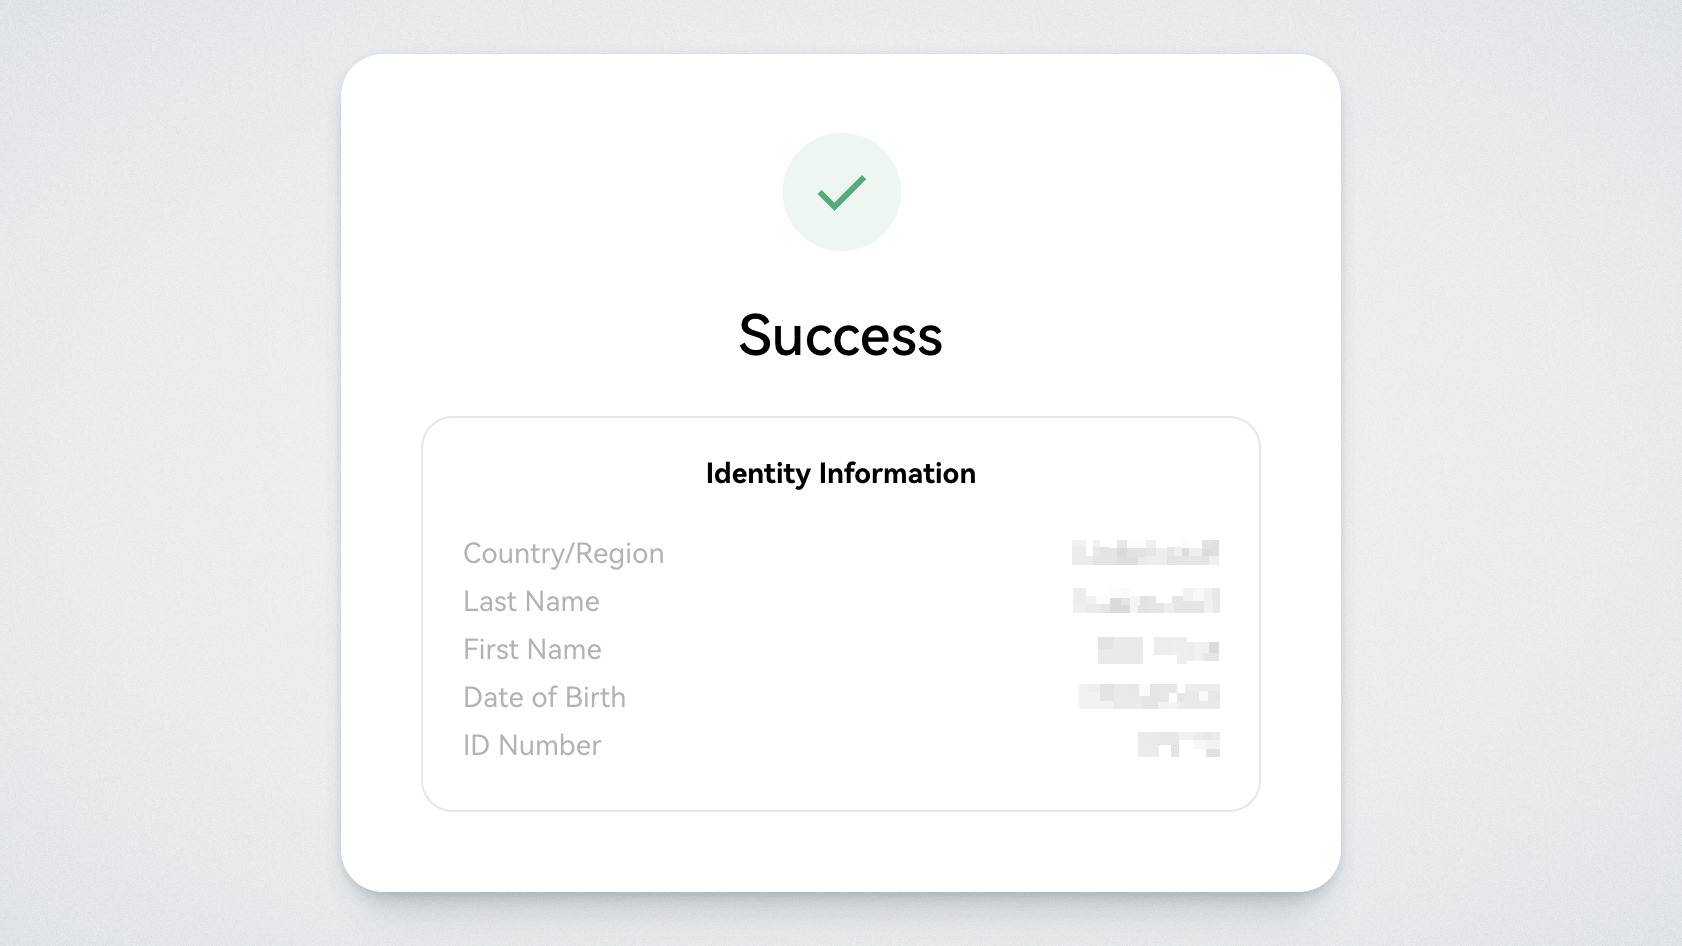
Once submitted, you will see a message confirming that verification was successful:
Step 3: Funding Your Exchange Balance
Now we need to fund your exchange balance. In our example, we will fund the balance using USDT on the TRC-20 network.
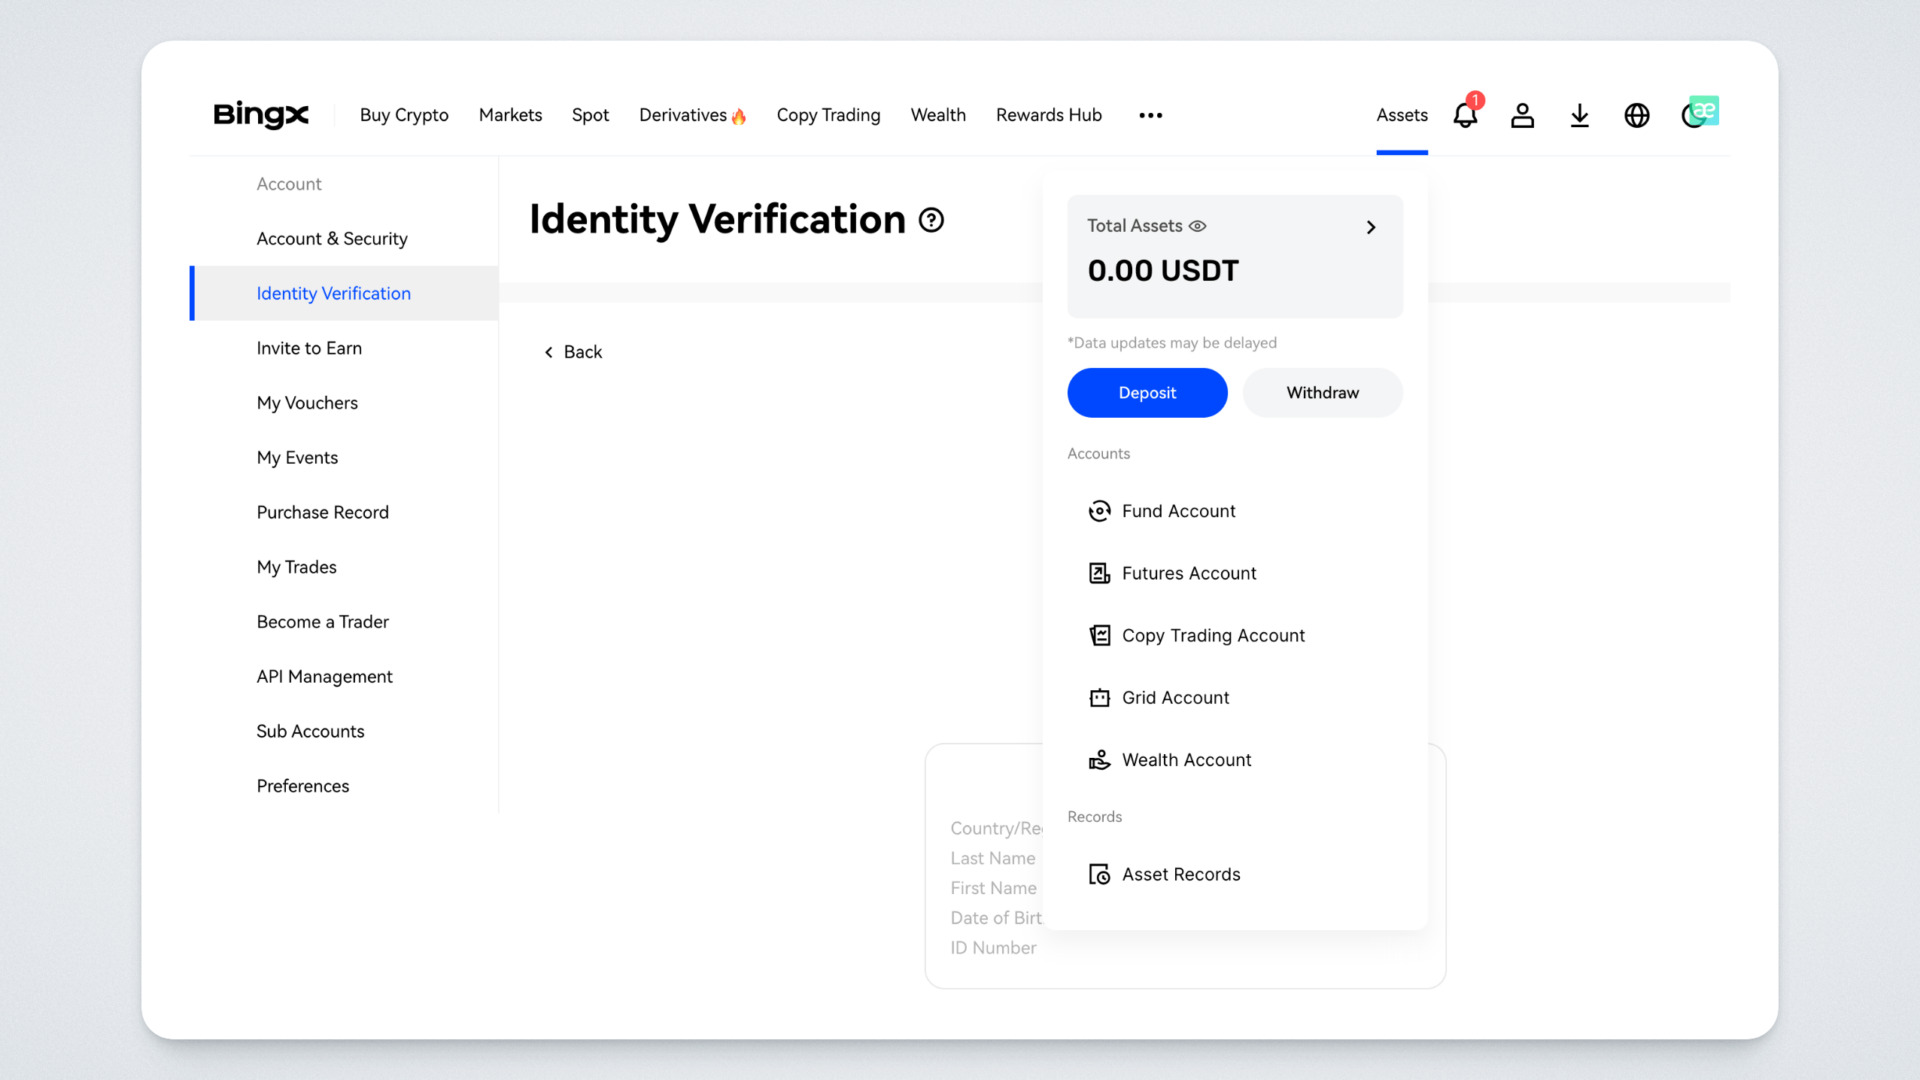
Log in to your BingX account, click “Assets” on the main page, and go to the “Deposit” section:
Choose the coin to deposit (for example, USDT).
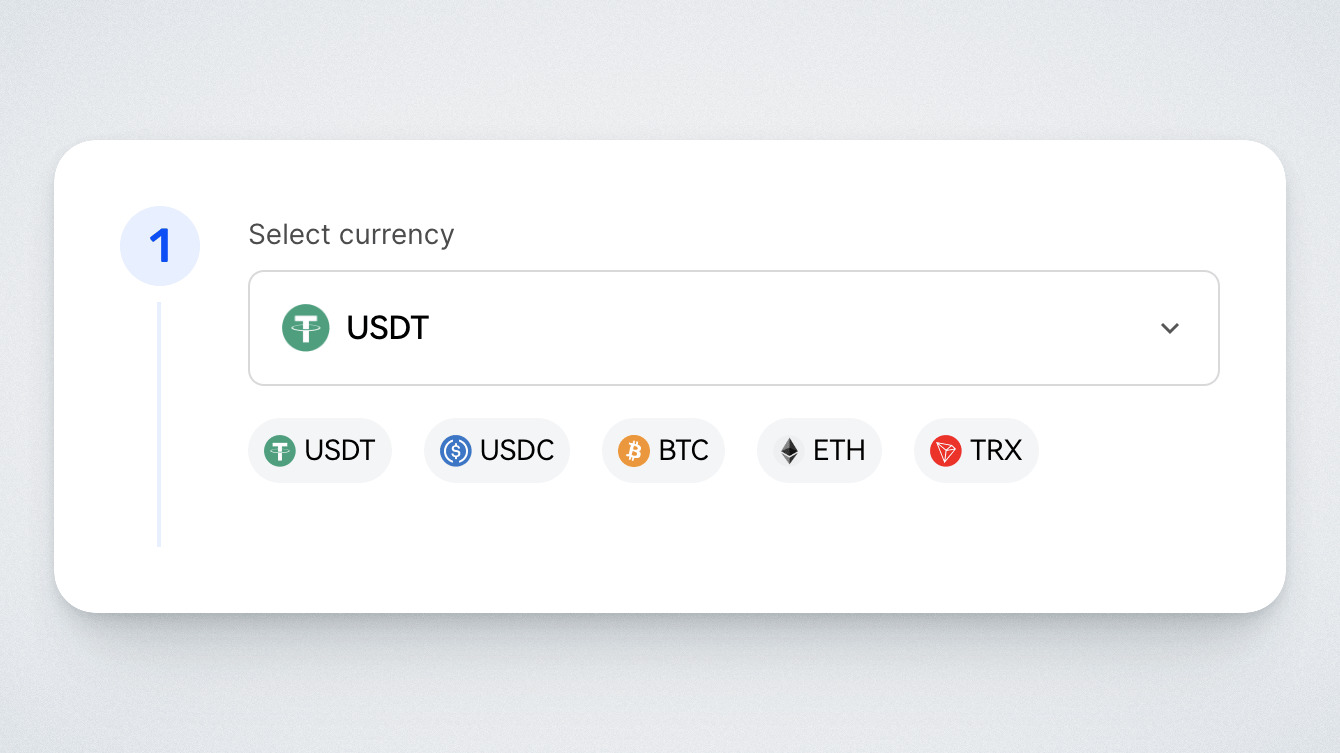
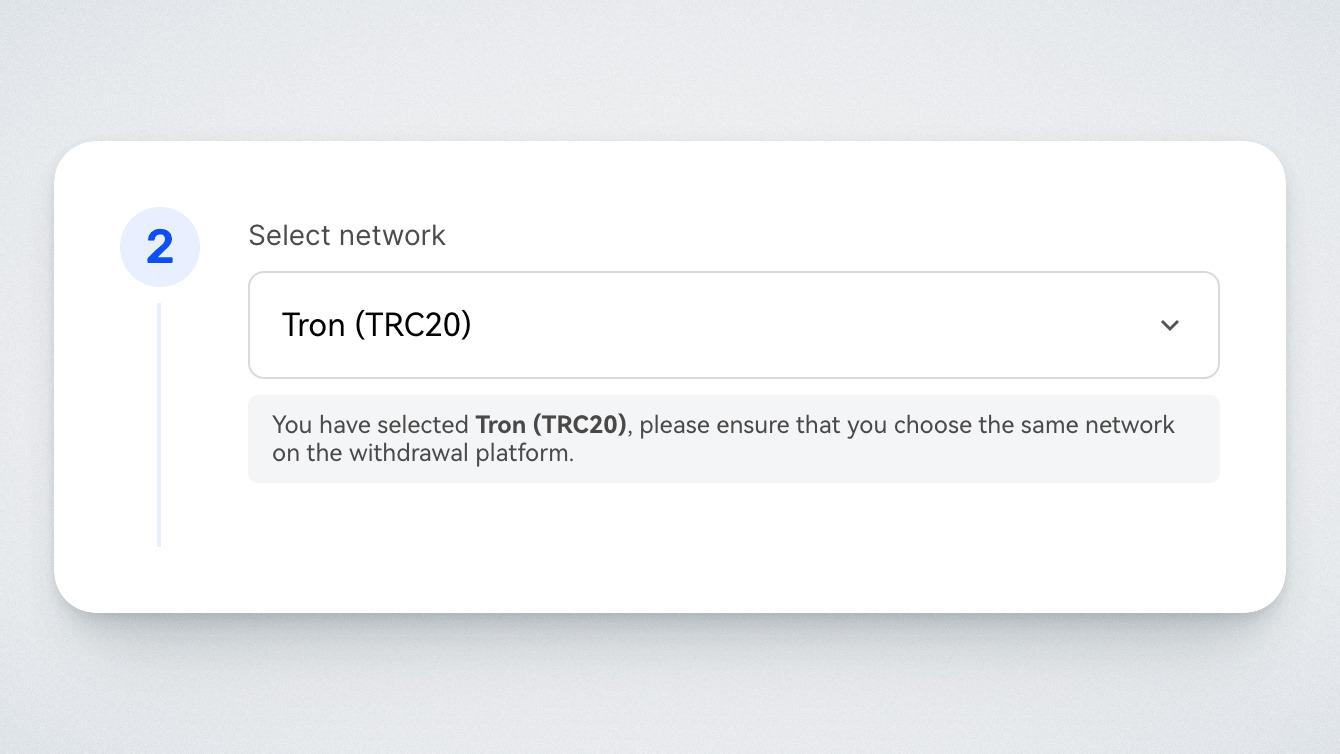
Select the deposit network, for example, TRC-20.
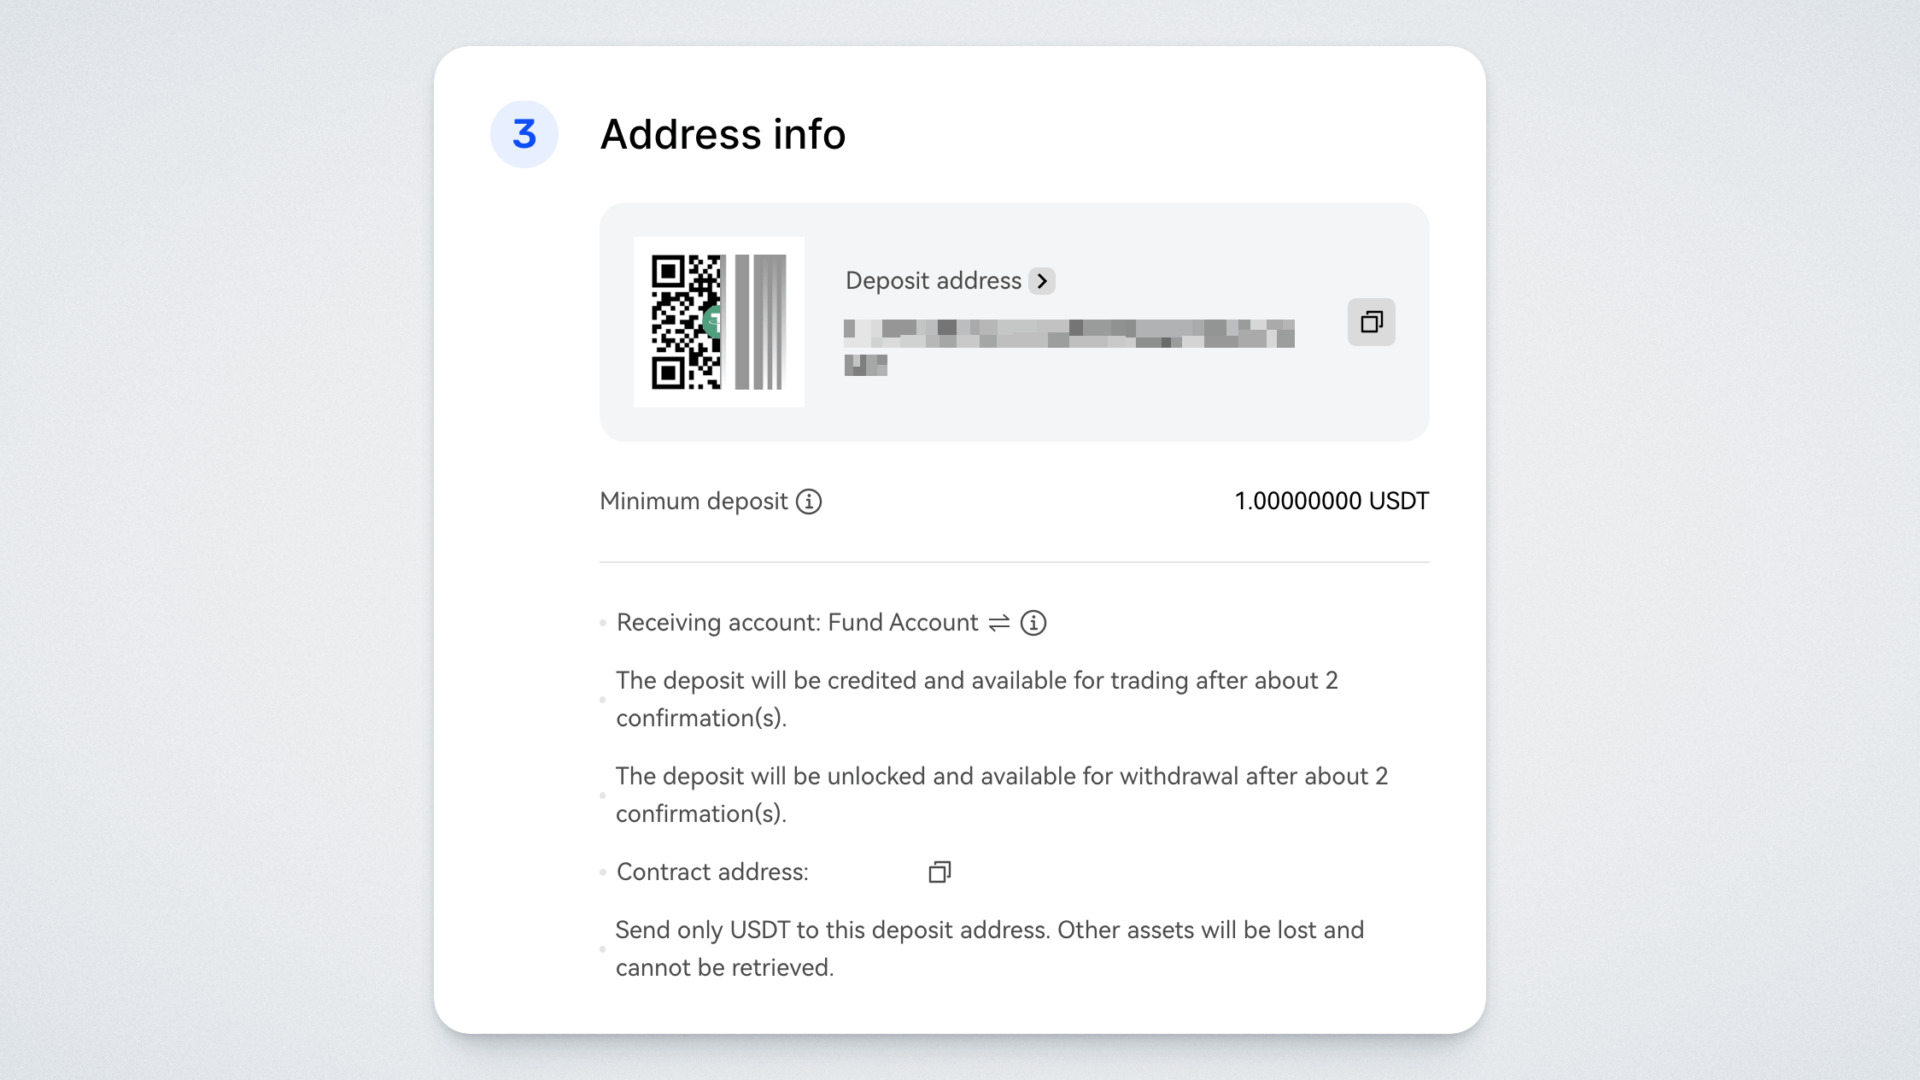
Click the “Get Address” button for USDT TRC-20. Copy the deposit address.
Then go to the other exchange or wallet you’ll be transferring USDT from. Go to the “Withdraw Assets” section and paste the copied BingX deposit address into the “Address” field.
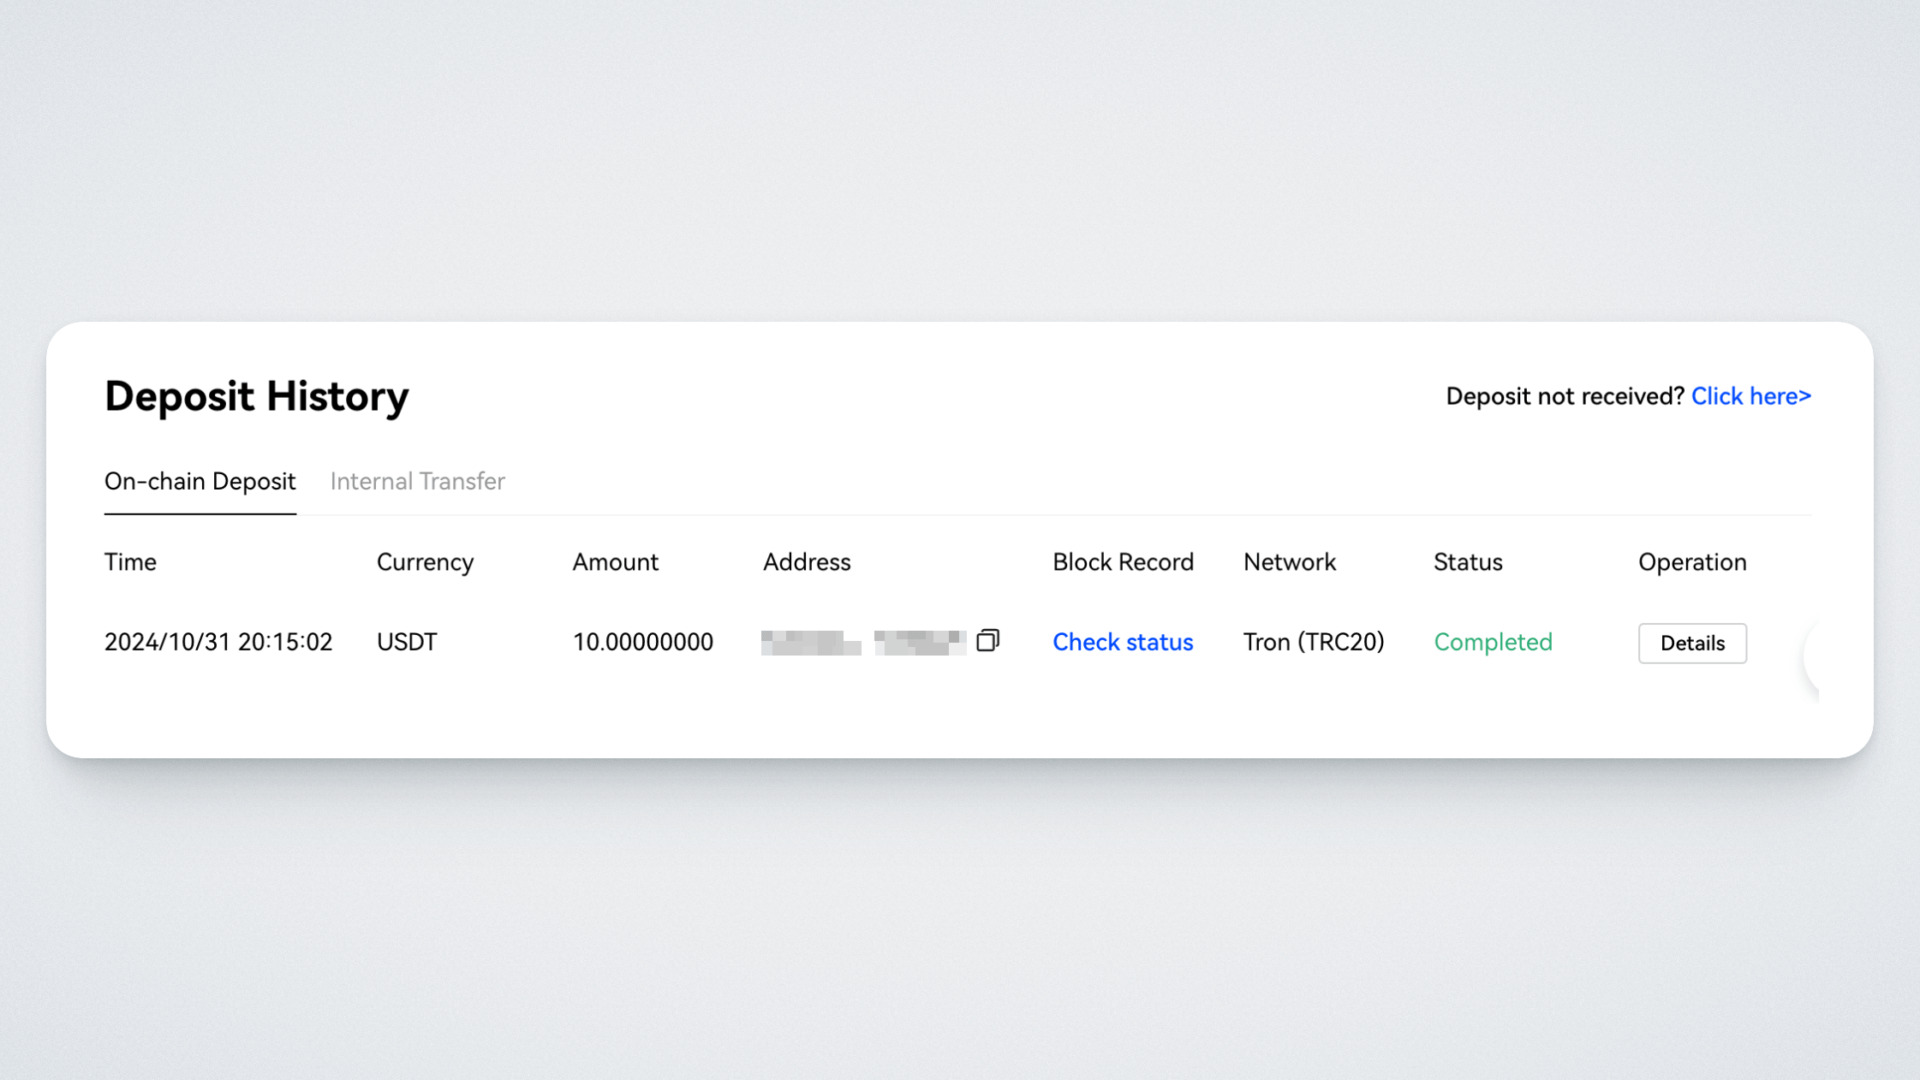
Once the transaction is processed, you’ll see it appear in the transaction history on the deposit page:
Done! You have successfully registered your account and funded your balance.